
Have you ever held your hand up to your HVAC vent and knew something wasn’t quite right with the room temperature? Well, sometimes there’s a reason for this, and other times it can be chalked up to how air conditioning really works.
One of the most common questions we get is, “why is the air coming from my vents not matching the thermostat?” The answer is quite simple in many cases, but further investigation is required in other situations.
In this article, we’ll cover:
- Normal room temperature and thermostat disparity
- Issues that can cause air temperature and thermostat disparity
With the following troubleshooting steps, you’ll be able to diagnose the difference between your room temperature and thermostat to make sure your system is operating at peak efficiency.
Of course, if you’d like to skip the troubleshooting process altogether, the easiest solution would be to schedule a tune-up with a local servicer. Most HVAC servicers include a thermostat inspection as a part of their services.
Room Temperature and Thermostat Difference
If you’ve noticed that the air blowing from your vents is warmer than where your thermostat is set, there’s a chance that it’s just working as intended.
While many believe that air conditioning works by producing cool air, what it actually does is gradually remove heat from the air and recirculate it throughout the house until the heat is removed. This process takes time, meaning the air coming from your vents may not reach the temperature on the thermostat for some time, especially on hot days.
On top of the cooling process taking time, there’s also the matter of your air conditioner’s limits. Air conditioners will only be able to cool your home by 20 degrees across the board. That means if you set your thermostat to 65 and it's 110 outside, you’ll never get the room temperature to match your thermostat.
Being aware of these factors allows you to have more realistic expectations of the air coming from your vents. But that’s not to say there can’t be some issues with your thermostat.
Issues That Can Cause Room Temperature and Thermostat Differences
If you have a realistic expectation of how your air conditioning should operate and the room temperature is still off from the thermostat, it’s worth exploring a few other areas of concern. Some issues are simple to troubleshoot, and others may require you to replace your thermostat altogether.
1. Dirty Thermostat
Starting with the easiest issue to identify, be sure your thermostat is clean. A dirty thermostat can result in a blocked sensor.
If a sensor is obstructed, it will trick your thermostat into thinking it’s warmer or colder than it is, reducing its accuracy.
Cleaning a thermostat requires care, so you consult your owner’s manual to seek out best practices.
2. Poor Thermostat Location
When placing a thermostat, it’s easy to overlook environmental factors that may affect it. Sunlight and appliances that generate heat can cause the thermostat to get inaccurate readings.
Relocating a thermostat takes a bit more work than just cleaning, so if you plan on undertaking this task on your own, be sure you’ve read up on your manual and are confident in your abilities.
If and when you relocate your thermostat, be sure you place it near the center of your home, away from windows. Relocating your thermostat using these two criteria will give you the most optimal placement and convenience.
3. Power Issues
If you’re certain you’ve cleaned your thermostat well enough, and it’s sitting in an ideal location away from interference, the next step is to confirm that it has an adequate power supply.
A thermostat without sufficient power, like dead batteries, will affect the sensor performance and the connectivity in the case of smart thermostats. If your thermostat has power issues, you’ll likely notice them in the form of cycling, battery notifications, and other odd behavior.
Sometimes, there’s corrosion, and the connections need a good cleaning. It’s important to recognize a lost cause when you see one, though. Don’t be conservative if you’re unable to remove corrosion or grime.
If there’s no corrosion and the batteries appear to be working in another device, then it’s time to explore replacing your thermostat.
4. Faulty Wiring
If you’ve had your thermostat for some time now, it can get run down and require some TLC. If your thermostat has faulty wiring, it can lead to inaccurate readings, which won’t help cool and heat your home to your desired temperature.
A big caveat to this troubleshooting step is that you’d be required to deal with potentially faulty wiring, which can be unpredictable. This is more for advanced users who know a thing or two about electrical. Play it safe and contact a professional if you’re not 100% confident in your abilities.
5. Thermostat Calibration
Recalibrating your thermostat once a year is a best practice that helps ensure it is working properly and that your HVAC system can reach its maximum efficiency. The recalibration process will vary from model to model but is often done with just a few button presses and a room thermometer.
To check if your thermostat is calibrated correctly, hold a room thermometer close to the thermostat, a couple of inches or so. If your thermometer is more than a degree off from the thermostat, then your thermostat needs to be recalibrated.
6. Unlevel Thermostat
For older mechanical thermostats, you’ll want to check the level of the unit. These older-style thermostats rely on sensitive components such as a mercury switch.
Mercury switches need to be properly leveled to function correctly. If not, you run the risk of having your thermostat cycle on and off for seemingly no reason, leading to a disparity between room temperature and thermostat readings.
You can fix this by doing the following:
- Remove the thermostat cover.
- Ensure the subbase is mounted correctly to the wall.
- Locate the notched or flat areas meant to hold a level.
- Ensure the subbase is level.
- Tighten subbase screws if necessary.
- Replace the thermostat cover.
This process is an easy way to check up on older-style thermostats, but at this point, it’s worth considering upgrading to a smart thermostat if you continue to have issues.
7. Replace Thermostat
After running through several other troubleshooting steps, it may be time to replace your thermostat. Be sure to check up on your local codes.
Some regions, like California, are pushing for the transition to smart thermostats. You'll want to double-check your local codes to avoid having to revisit replacing your thermostat in the future.
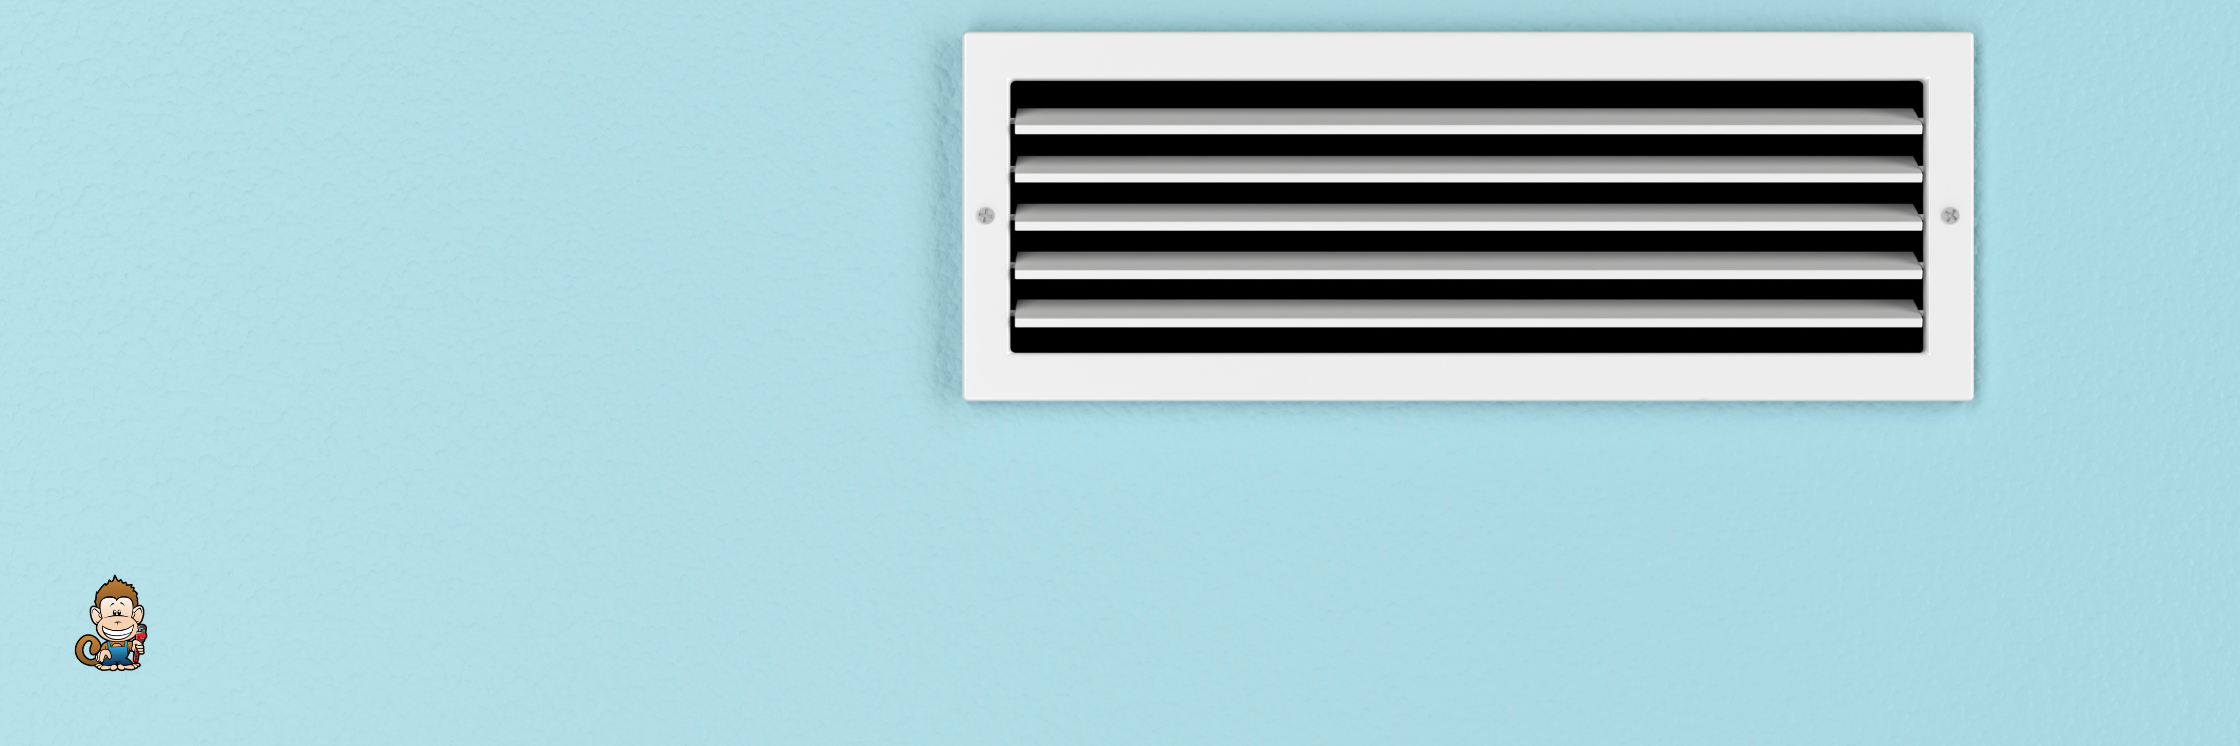
8. Check Filters
If you’re noticing consistent underperformance within reason, you may need to investigate your HVAC system, starting with the filters. A dirty filter can prevent a system from reaching its peak performance and stifle efficiency, leading to underwhelming cooling and heating.
If you check your filters and see a good amount of buildup, like dirt, dust, and other debris, it’s time to replace or clean, depending on the filter type.
Checking to ensure your filter is clear is an easy first step in getting your HVAC performance back on track.
9. Check for Leaks
Next up, it’s time to spot-check for leaks. Air infiltration is already an inherent pitfall of HVAC systems. Unlike a refrigerator, HVAC systems are not sealed.
The lack of a closed environment invites air to infiltrate your system from the outside. Checking your ventilation system for further leaks is the next step to ensuring your HVAC system is intact.
If you detect any leaks, you may be able to patch them up with foil-faced tape. But sometimes leaks are hard to see, and while there are DIY methods like fog machines to help suss them out, you may need the help of a professional for those difficult-to-spot leaks.
10. HVAC System Sizing
If you live in an older home or installed your system yourself, sizing may be a concern. Having a technician come out to your home is the easiest way to check if your HVAC system is properly sized.
If you want an answer right this minute, you can check your home's square footage and your system's BTUs. There are many different online resources to calculate the BTU needs of your home.
While you can always use an online calculator to determine the size of your system, online resources vary and can cause more confusion. For this reason, getting the answer you need from a technician will be easier.
You've Figured Out What's Causing the Mismatched Temperatures
After touching on why it’s normal for room temperatures and thermostats to misalign and 10 reasons your thermostat might be malfunctioning, we’ve covered many possible issues and solutions. Now, you can use these troubleshooting steps to address problems with your thermostat before calling a technician out for service, potentially saving you time and money.
We know many factors can affect your HVAC system, so it’s important to exhaust all of your options when troubleshooting. Of course, as we pointed out, sometimes the easiest solution is just to replace a thermostat.
While replacing a home thermostat can be an easy afternoon project, visit our HVAC services page if you’re in the greater Los Angeles area to set up an appointment with a technician.
Additionally, be sure you're doing everything you can to help your HVAC system run efficiently. If the issue you’ve been experiencing with your thermostat is the final straw, take a look at the best smart thermostats to get an idea of some of the top options on the market.