 Hard water comes through your main waterline like a robber in the night. It slips into your plumbing unnoticed and steals money from you in the form of blocked-up fixtures, weakened pipes, and busted water heaters.
So how can you find out if you have hard water? By using a little thing called a water hardness test.
At Monkey Wrench Plumbing, Heating, Air & Electric, we’ve helped countless homeowners all over the Los Angeles area test their water for hardness minerals. These tests help our customers assess the risk of hard water damage to their homes and provide a starting point to protect their plumbing.
By the time you’ve finished reading this article, you’ll know the five steps that must be taken to get a correct hardness test reading. We will also guide you through your next steps if you do have hard water.
What is a Water Hardness Test?
A water hardness test will indicate how hard your water is by measuring how much calcium and magnesium are in a water sample. These naturally occurring minerals are measured by grains of hardness, otherwise known as grains per gallon (gpg).
If you have 7 gpg of hardness minerals or more, you have hard water.
How Do You Do a Water Hardness Test?
You can do a hardness test yourself, or you can ask for this service from your local plumber.
The test itself is pretty simple to do and all you will need is:
- Water to test
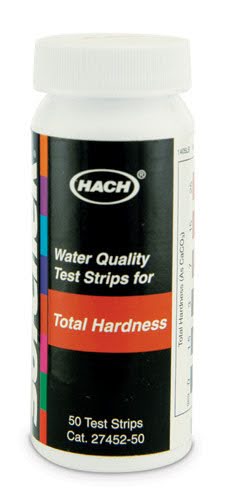
- Water Hardness Strips
Sofcheck Total Hardness Test strips
You must take the following steps to test for hard water:
- Do a thorough evaluation of your home
- Decide on a testing area
- Test the water
- Wait for results
- Compare results
Let’s break these down further so you can make sure you have an accurate test result.
1. Doing a Thorough Evaluation
To do a thorough evaluation, check for signs of hard water in your house. Look for:
- White buildup on sinks, tubs, and isolation valves
- Showerheads with irregular water flow
- Cloudy glass showers doors and cups
This step helps you double-confirm the accuracy of your test results. If you have a plumber check your home for hard water, they can forecast how it could affect the efficiency of your plumbing system in the future. They can also check and clean difficult-to-remove aerators that help improve the spray on your faucets.
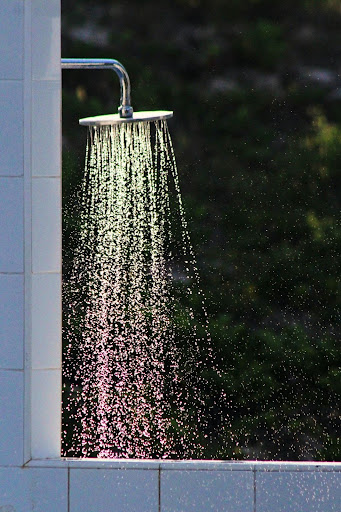
A showerhead with irregular water flow. The streams of water spraying diagonally are blocked with buildup.
2. Deciding on a Testing Area
Water hardness tests can be done from any area in your house that interacts with water. This includes fixtures, appliances, and fridge filters. You can even compare different parts of your house against each other like below:
Example A: Testing your faucet vs. a water pitcher filter.
Example B: Testing a sink vs. the inside of your fridge.
Example C: Testing your showers vs. bottled water.
This process can be a fun learning experience for you and your family, so get everyone involved!
3. Testing the Water
Once you’ve decided where to test your water, you can proceed. Grab a strip and dip it into the water sample for about a second.
To make sure you get an accurate reading, you must not:
- Touch the indicator square at the bottom of the strip with your fingers. Natural oils on your hands can throw off your results. Wearing gloves can reduce this risk of cross-contamination.
- Use any strip that is damp or has a discolored indicator square according to the bottle. If it’s any other color, throw it out. This will give you an inaccurate test result.
- Soak the strip in water. Soaking the test strip will wash off the indicator solution and give an incorrect reading.
Note: The testing strip only needs to come into contact with your water briefly. If you’re testing the water from your sink, make sure the faucet is dribbling. A good rule to follow to avoid over-soaking your strip is to say the word test as you test your water. That’s how quick it should be!
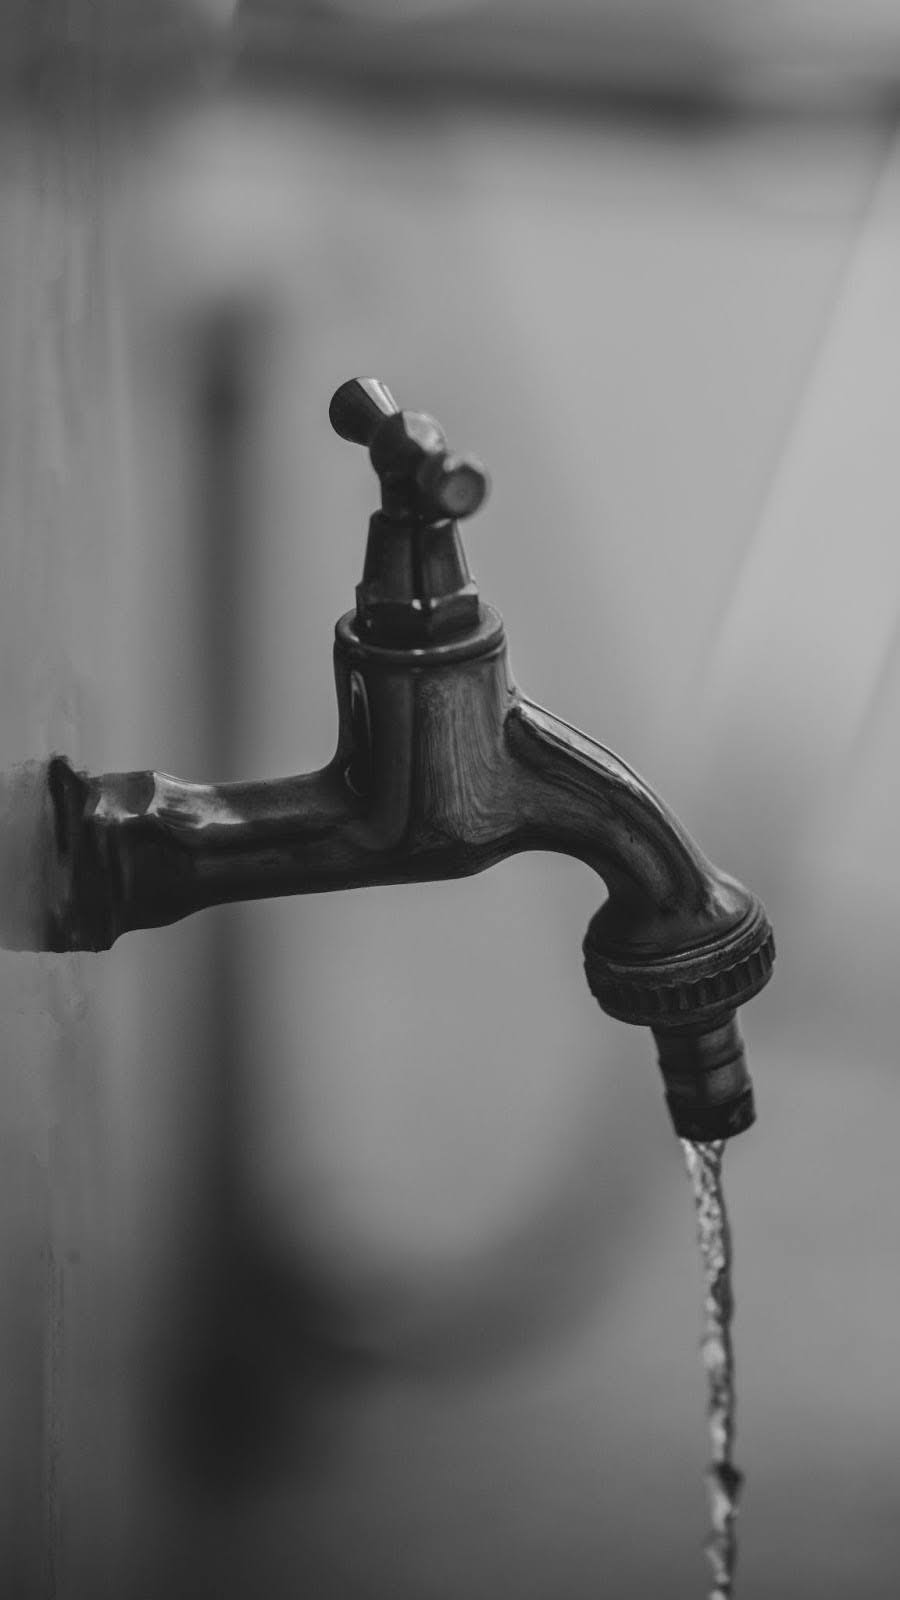
The perfect flow of water to test
4. Waiting for Results
Make sure to wait for 15 seconds so your testing strip can completely change color. Trying to determine your water’s hardness level before the time is up will give you incorrect results. Likewise, if you wait too long and the test dries it will be hard to read.
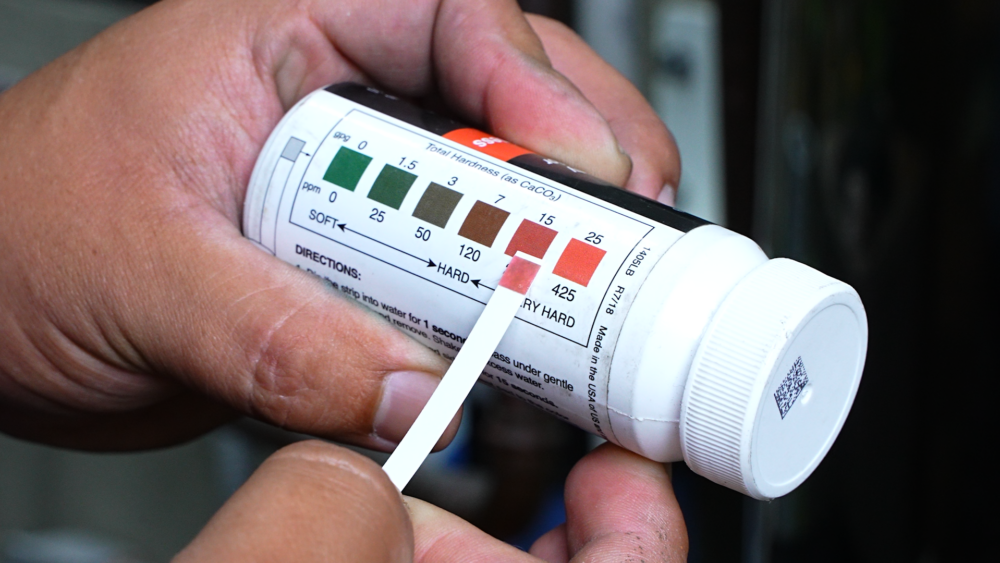
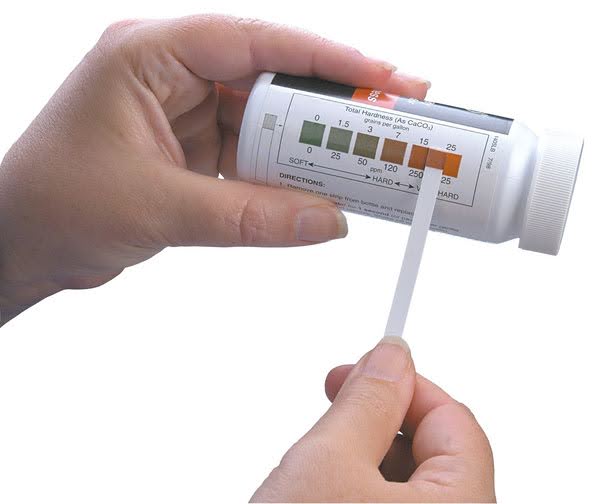
5. Comparing Your Results
To get your test results, compare the strip to the color scale on the bottle with the indicator side up.
The results you can get are:
- Soft – 0-3 gpg
- Hard – Over 3-7 gpg
- Very Hard – Over 7-25 gpg
Note: If the color on the indicator falls between two colors, estimate your results.
We’ve taken a few example tests to show you how results can vary depending on how they’re handled and where the tests were performed.
- Unused test
- Mishandled test from a sink
- Accurate test from a sink
- Over-soaked test from a sink
- Accurate test from a water filter
As you can see, tests 2-4 were tested from the same sink but gave very different results. This is why it’s important to follow water test instructions in the letter.
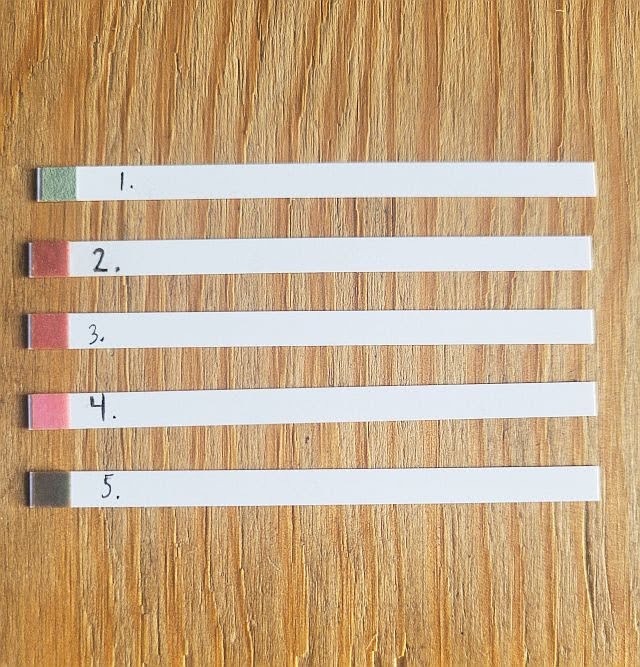
Test 5 used water that came from the same tap, but it also went through a water filter pitcher. This shows the importance of testing multiple sources in your house.
Next Steps After Your Hard Water Test
Water tests are easy to do and they can quickly tell you if your home has hard water. All you or a plumber has to do is evaluate your home, find an area to test, test your water, wait, and compare your results.
Once you have your results and make sure they’re accurate, what can you do with them? You can take immediate action to protect your fixtures and appliances with water filtration.
We’ve put together different guides on your water filtration options to help you make the best decision for you.
If you have more questions about water tests in general, read this article, 5 Common Questions About Water Testing. In it, we go over hardness tests as well as chlorine tests.